Connect the printer to an Ethernet network
Follow these steps to connect the printer to an Ethernet network:
1.
If necessary, set up the printer hardware.
For printer hardware setup instructions, see the setup poster that came with the
printer.
2.
Verify that the printer is powered on.
3.
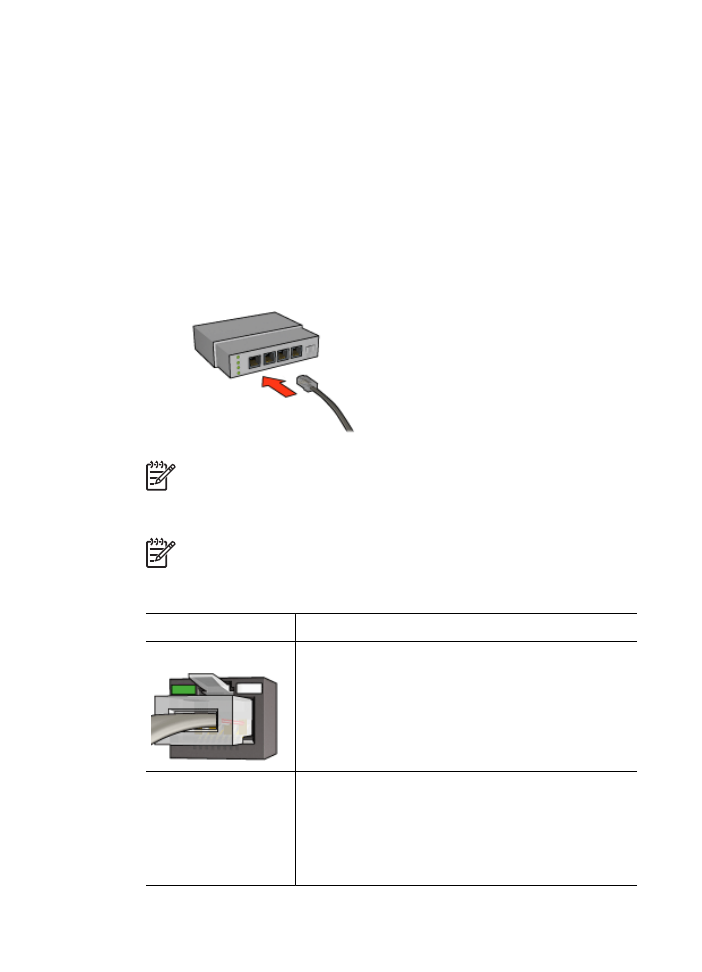
Connect the
Ethernet cable
to an available port on the network
hub
or
router
.
Note
Do not plug the Ethernet cable into a port labeled WAN, Uplink, or
Internet.
4.
Connect the Ethernet cable to the Ethernet port on the back of the printer.
Note
The printer's wireless radio is disabled when a Ethernet cable is
connected to the printer.
5.
Do one of the following:
State of the Link light Task
On
Go to step 6.
Off
Repeat steps 2 through 4. If the lights are still off, verify
the following items:
–
The printer is powered on.
–
The network
hub
or
router
is powered on.
–
All cable connections are secure.
–
You are using an
Ethernet cable
.
User's guide
51

State of the Link light Task
6.
Print an HP Report page
.
7.
Install the
printer software
on each computer that will use the printer.
Caution
It is recommended that the printer and the computers that use it
be on the same subnet. Printer installation across subnets can be
problematic depending on the type of router used.