Print small photos
Guidelines
●
For high-quality results, use a
photo print cartridge
in combination with the tri-color
print cartridge.
●
For maximum fade resistance, use HP Premium Plus Photo Paper and install a
photo print cartridge in the printer.
●
To learn how to use the available
photo printing features
.
●
Use
HP Everyday Photo Paper, Semi-gloss
to save money and ink when printing
photos.
●
Verify that the photo paper that you are using is flat. For information about preventing
photo paper from curling, see the
photo paper storage instructions
.
●
Do not exceed the In-tray capacity: 80 sheets of photo paper.
Prepare to print
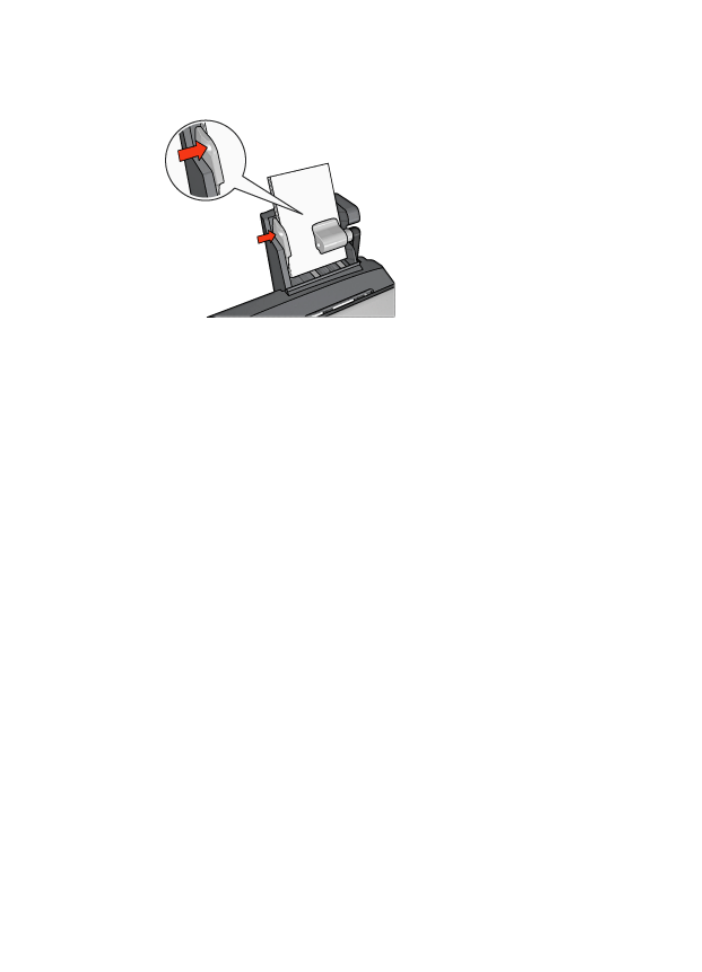
1.
Slide the paper-width guide to the left.
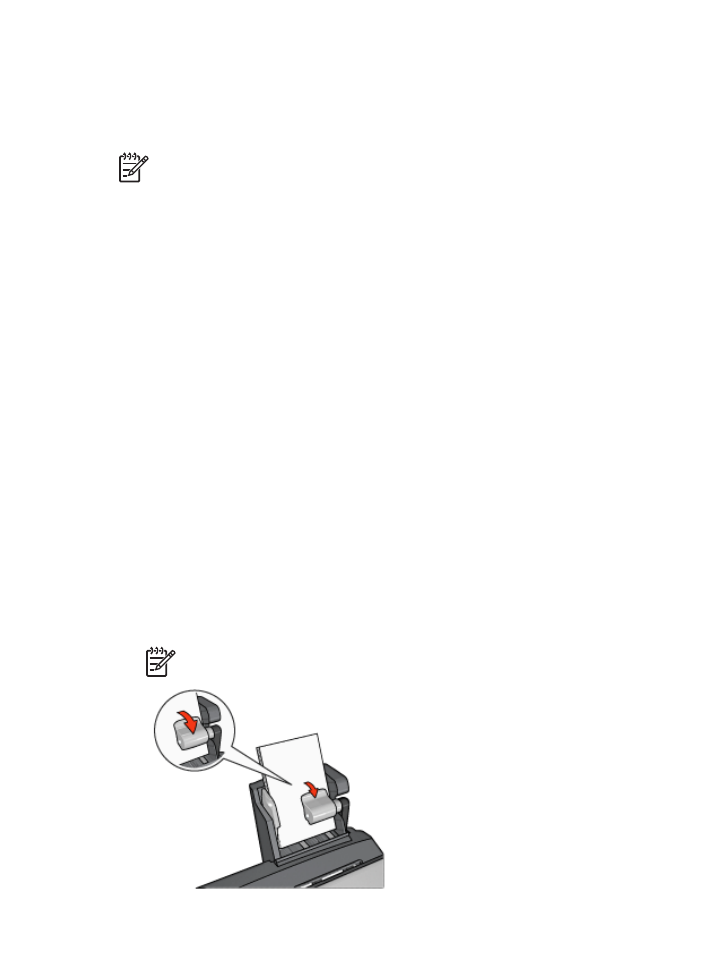
2.
Pull the paper lever forward and insert the photo paper.
The side of the photo paper to be printed on should face outward.
Note
If the photo paper has a tear-off tab, the tab must point up rather than
leading into the printer.
User's guide
169

3.
Release the paper lever.
4.
Slide the paper-width guide against the edge of the photo paper.
1.
Open the
Printer Properties
dialog box.
2.
On the
Printing Shortcuts
tab, click
Photo printing-borderless
or
Photo printing-
with white borders
as the type of document, and then select the following options:
–
Print quality
:
Normal
,
Best
, or
Max dpi
–
Paper size
: The appropriate photo paper size
–
Paper source
:
Rear tray
–
Paper type
: The appropriate photo paper type
–
Orientation
:
Portrait
or
Landscape
3.
Set the following options as appropriate:
–
HP digital photography options
–
Advanced color settings
–
Color management
–
Grayscale quality
4.
Click
OK
to print the photographs.
Use the
What's This? help
to learn about the features that you see in the Printer
Properties dialog box.